When Typical import is selected, the Import Wizard commences with the Import Identifier screen.
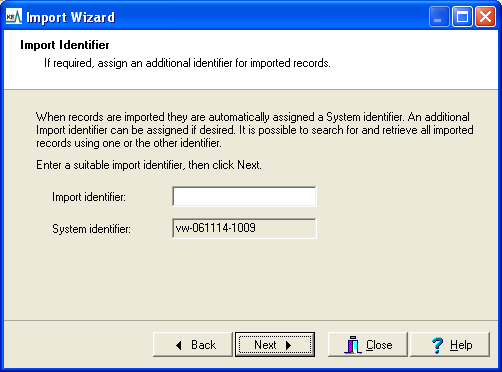
When new records are imported a unique System identifier is automatically generated and saved in any newly created records.
You also have the option to add your own identifier in the Import identifier field.
Note:
For later reference, the identifiers are recorded in the log file generated with each import (typically saved in the same location as the import data file used).
The System identifier and Import identifier can be used to identify new records imported in a batch.
Note: System and Import identifiers are NOT added to an existing record that is updated during the import: when the Import Wizard is used, new records get a System identifier and / or Import identifier, existing records do not.
A System identifier is constructed from the username, and the date and time (24 hour clock) the import commenced. The format of the System identifier is username-yymmdd-hhmm.
Tip: The System identifier can be used to locate all records imported in a particular batch.
Unlike the System Identifier which is a unique value, the Import Identifier can be re-used with different import batches. It could be used, for example, to identify records imported by a user (by entering the user's name in Import identifier for every set of records they import).
To locate imported records, search the relevant module using the Import Details fields on the Admin tab:
- Enter the System identifier or Import identifier in the appropriate field.
In this example
vw-061114-1009is entered in the System Identifier: (Import Details) field: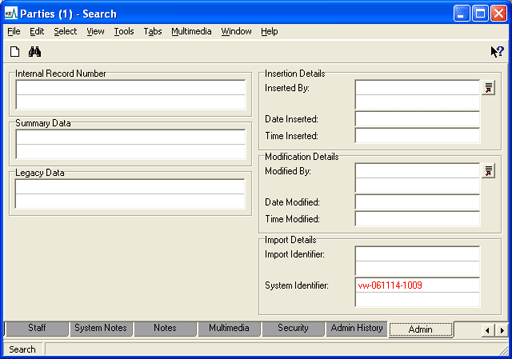
- Run the search.
All new records imported in the
vw-061114-1009set are returned.In this example an Import identifier had also been added to the imported records and could have been used for the search:
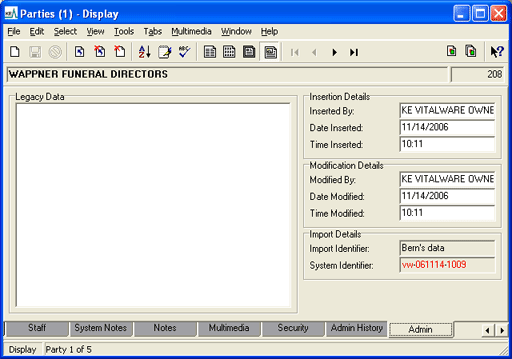
Note: Note that once created both the Import identifier and System Identifier are read-only and cannot be modified.
- Click Back to return to the prior stage
-OR-
Add your own identifier for the imported records in the Import identifier field. Otherwise leave the field blank.
- Click Next to continue.
The Settings screen displays.
The Settings screen displays a list of the settings that will be used to import data from the selected file:
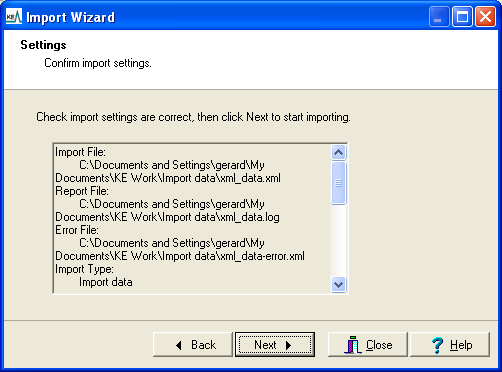
- Scroll through the list of settings to ensure that they are correct.
- Click Back to return to a prior step and change the details
-OR-
Click Next to proceed with the import.
The Importing screen displays.
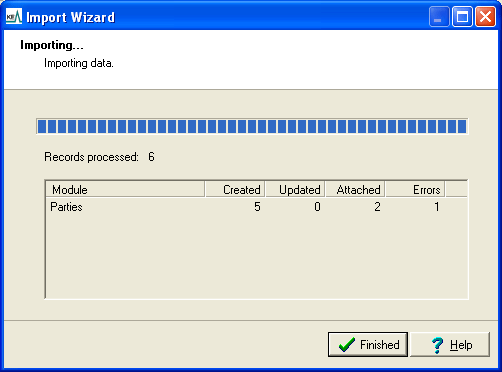
The Importing Screen displays and processing commences:
Note: If there are references in the data file to other records (i.e. attachments), you will typically need to perform steps 1 and 2 below. If you choose a Custom Import option, it is possible to bypass these steps.
When there is a reference in the import data file to another record, a search for the attachment record is performed using the details provided.
Note: By default a search of all records, including those being imported, is made.
If more than one match is found, the Attachment Selection box displays:
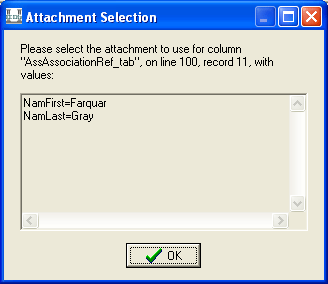
In this case a record being imported seeks to attach to another Parties record; as there is more than one record that matches the Party name specified for the attachment it is necessary to identify which is the correct attachment record:
- Click OK to view the matching Parties records:
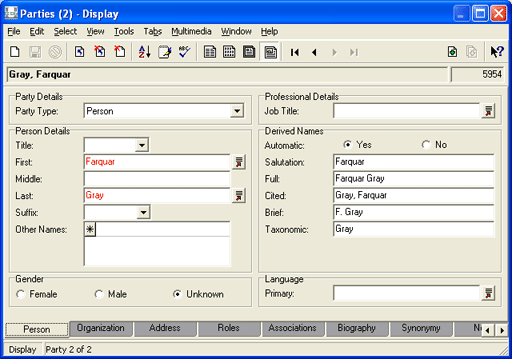
Note: The number of matching records is specified in the Status bar at the bottom of the module window. Because records being imported could reference any of these matching Parties records, it will probably be necessary to open the import data file, locate the record that is seeking to make this attachment and confirm that you have identified the correct attachment relationship. To simplify this, the record number and line number of the record in the import data file are displayed in the Attachment Selection box.
- Identify the correct attachment record and click Attach Current Record
 in the Tool bar.
If none of the listed records is the correct attachment, click
 in the module's Title bar. The Attachment Selection box displays with three options:
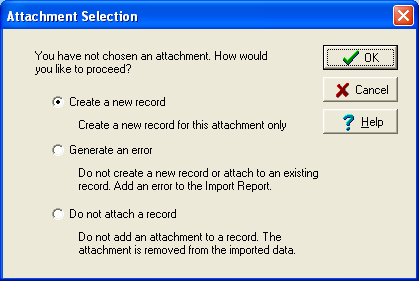
Select an option (the default is to create a new record) and click OK.
Note: This process repeats until each attachment is resolved.
When the import process is complete, details about the import are shown, including how many records were created or updated, how many attachments were made and the number of errors:
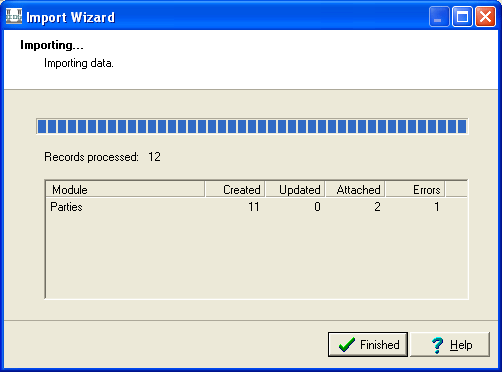
- Click Finished.
The Import Complete screen displays.
The Import Complete screen displays a summary of the number of records processed:
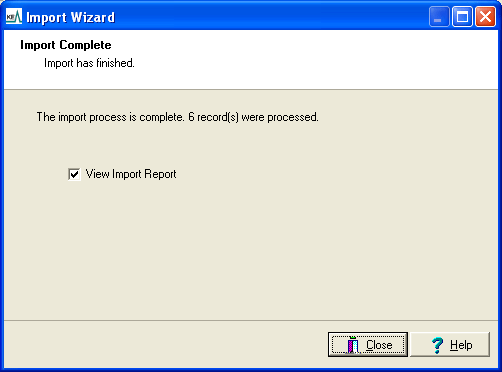
By default the View Import Report checkbox is checked.
- Uncheck the View Import Report checkbox and click Close to exit the Import Wizard without viewing the report
-OR-
Click Close to exit the Import Wizard and display the Import Report log:
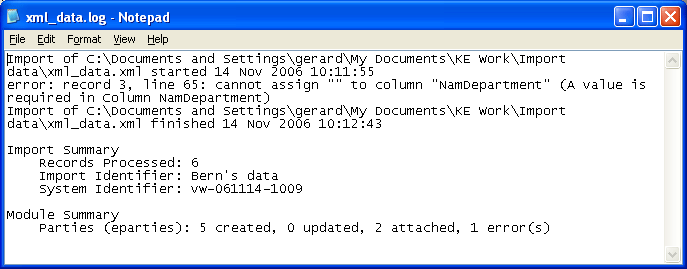
All records without errors are imported into
The imported records will display in the module window.
Note: Any records listed or displaying prior to the import will be discarded: only the imported records will display.
