Some applicants have permission to order products on account rather than have to pay for orders up front. These applicants are specified by your organi
- Log a new sales transaction, completing product code and event details.
- Enter details in the Delivery Details fields: search for the recipient's record in the Parties module and use the drag and drop method to copy details to the Delivery Details fields.
- If a different Party is to be invoiced for this order, search for that Party's record in the Parties module and use the drag and drop method to copy details to the Applicant, Refund or Invoice tabs.
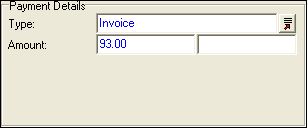
- Select Invoice from the Type: (Payment Details) Lookup List.
The Amount field is populated with the amount from the Total field in the previous window.

- Save the record.
Note: There must be a record for the recipient in the Parties module.
Note: There must be a record for the applicant in the Parties module.
Note: With Vitalware version 2.5 onwards it is possible to specify in a recipient's Parties record whether someone other than the recipient should be invoiced for the order. The Party to be invoiced is specified in the Billing Entity field on the Invoices tab in the recipient's Parties record. When the recipient's Parties record is dropped onto the Delivery Details fields in a POS record (Step 2 above), details of the Party to be invoiced are automatically added to the POS record (making Step 3 unnecessary).
Staff in the Financial Management department run this process.
To generate invoices:
- In the POS module select Invoices>Invoiced Orders from the Menu bar.
All invoiced orders display:

- Select all records for which you want to generate an invoice.
- Select Invoices>Generate Invoice>Selected from the Menu bar.
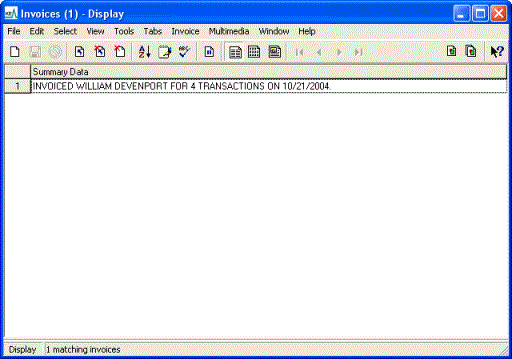
The invoices are generated and the Invoices module opens and displays the invoices that have just been generated. POS records with the same applicant are combined into one invoice:

- In Invoice module search for the required invoice record by searching by the invoice IRN number or on one or more of the Customer Details fields.
- Select a payment type and complete the payment details.
- Save the record.
The invoice status changes to Paid:

The payment is allocated against all POS records included in this invoice.
Occasionally it is necessary to cancel an invoice. This may be because the first invoice has not yet been sent and the customer has ordered more products and you decide to cancel the first invoice and reissue a second invoice that combines both orders.
To cancel an invoice:
- Search the Invoices module for the invoice to cancel.
- Select Invoice>Cancel from the Menu bar.
The Invoice record is deleted from the Invoice module. The status of the corresponding order in the POS module is changed so that a new invoice for this order is generated with the next batch of invoices.
